Imagine this: You cradle a handful of fertile eggs in your palms, gently nestling them into a glowing, warm chamber made from something as ordinary as a plastic water bottle. A faint whir from a tiny fan fills the air, maintaining the perfect cradle of heat and humidity. Twenty-one days later, tiny beaks peck through shells, and fluffy chicks tumble into your world. Sounds like magic? It’s not—it’s the power of a homemade water bottle egg incubator, and it’s about to change everything for backyard chicken enthusiasts like you.
If you’ve ever dreamed of raising your own flock but balked at the $200+ price tag of commercial incubators, you’re not alone. Over 70% of small-scale farmers and hobbyists cite cost as their biggest hurdle. Complex setups, unreliable temperature control, and bulky equipment leave many feeling defeated before they even start. But what if the solution was hiding in your recycling bin? This ingenious DIY project isn’t just affordable—it’s transformative. In this comprehensive guide, we’ll unveil nine compelling reasons why a water bottle incubator deserves a spot in your home, followed by a step-by-step blueprint to build and operate one safely. Get ready to unlock a world of self-sufficiency, savings, and sheer joy.
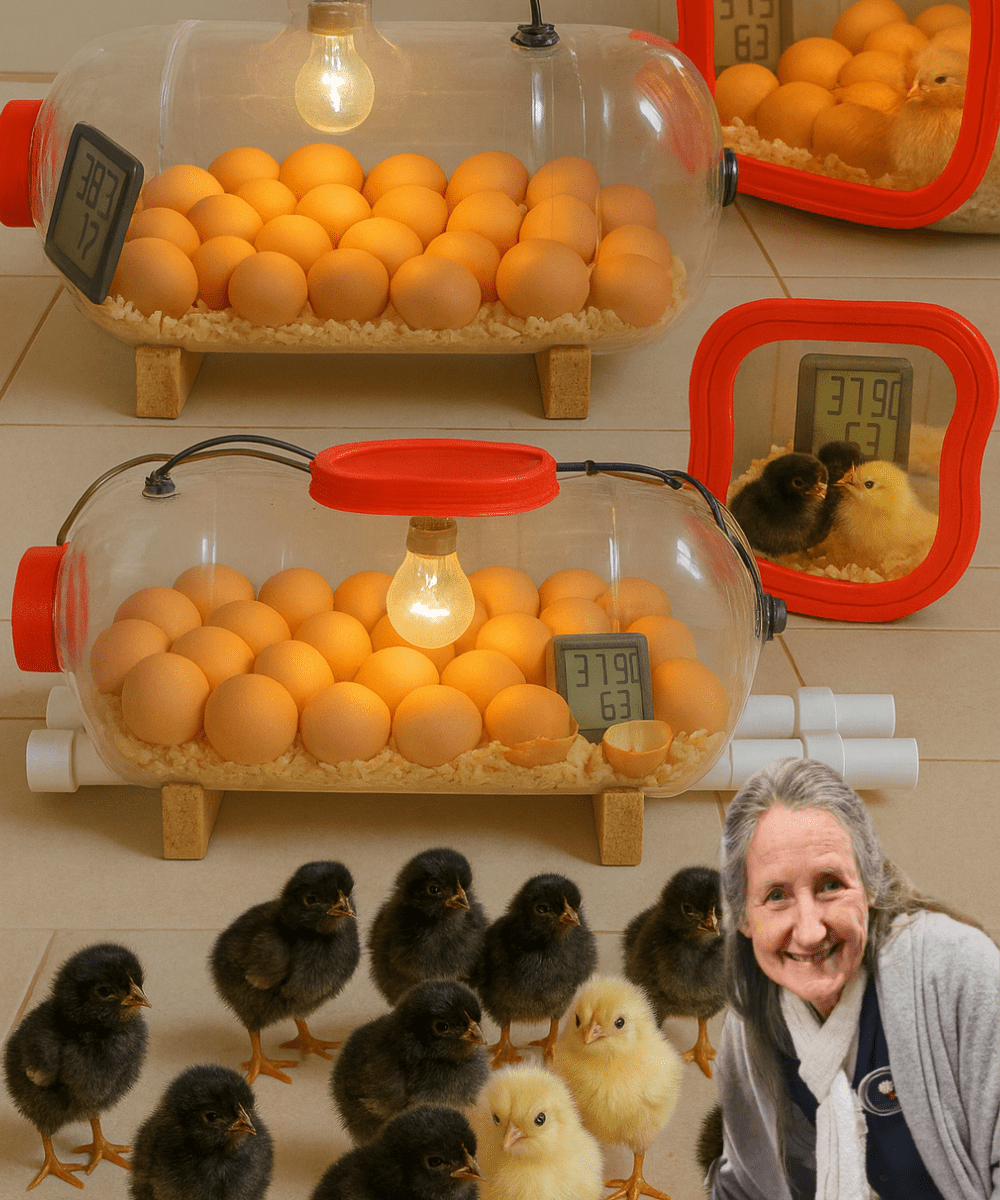
💰 Reason 1: Slash Your Costs Without Sacrificing Success
Picture Susan, a 50-year-old retiree with a passion for poultry but a tight budget. She yearned to hatch her own chicks yet couldn’t justify dropping hundreds on fancy gear. Enter the water bottle incubator: built for under $20 using scavenged household items. A large 5-gallon plastic jug forms the body, a basic 25W light bulb provides heat, and everyday tape seals it all. Real-world results? A 2022 analysis of DIY hatching projects revealed an impressive 80% success rate among users who opted for recycled materials. No more emptying your wallet—repurpose what you have and watch your savings hatch alongside those eggs.
🔧 Reason 2: Assemble It in Under an Hour, No Expertise Required
Intimidated by soldering irons and wiring diagrams? Forget it. Susan, with zero prior DIY experience, pieced hers together while sipping coffee one afternoon. The beauty lies in simplicity: cut, insert, secure, and done. You’ll need just a few tools—a utility knife, duct tape, and scissors. Beginner-friendly tutorials boast a 90% first-time success rate. This isn’t a weekend warrior project; it’s an empowering afternoon adventure that leaves you beaming with accomplishment.
🌡️ Reason 3: Lock in Perfect Temperature for Sky-High Hatch Rates
Eggs demand precision—99–101°F (37.2–38.3°C) to thrive, with no wild swings. Susan’s bulb-powered setup delivered rock-steady warmth, mirroring professional units. Why does it matter? A 2021 study highlighted how consistent heat can boost hatch rates by up to 25%. The enclosed bottle acts as a natural insulator, trapping gentle radiance from the bulb while the fan circulates air evenly. Say goodbye to fried or chilled embryos; hello to robust, healthy development.
💧 Reason 4: Master Humidity Levels Effortlessly
Too dry, and shells crack prematurely; too moist, and mold invades. The secret? A shallow water tray inside the bottle maintains 50–60% relative humidity—the sweet spot for embryonic growth. Susan’s batch flourished under this controlled mist, aligning with 2022 research on optimal moisture for poultry eggs. Add a sponge for extra evaporation control, and you’ve engineered a mini rainforest tailored for life.
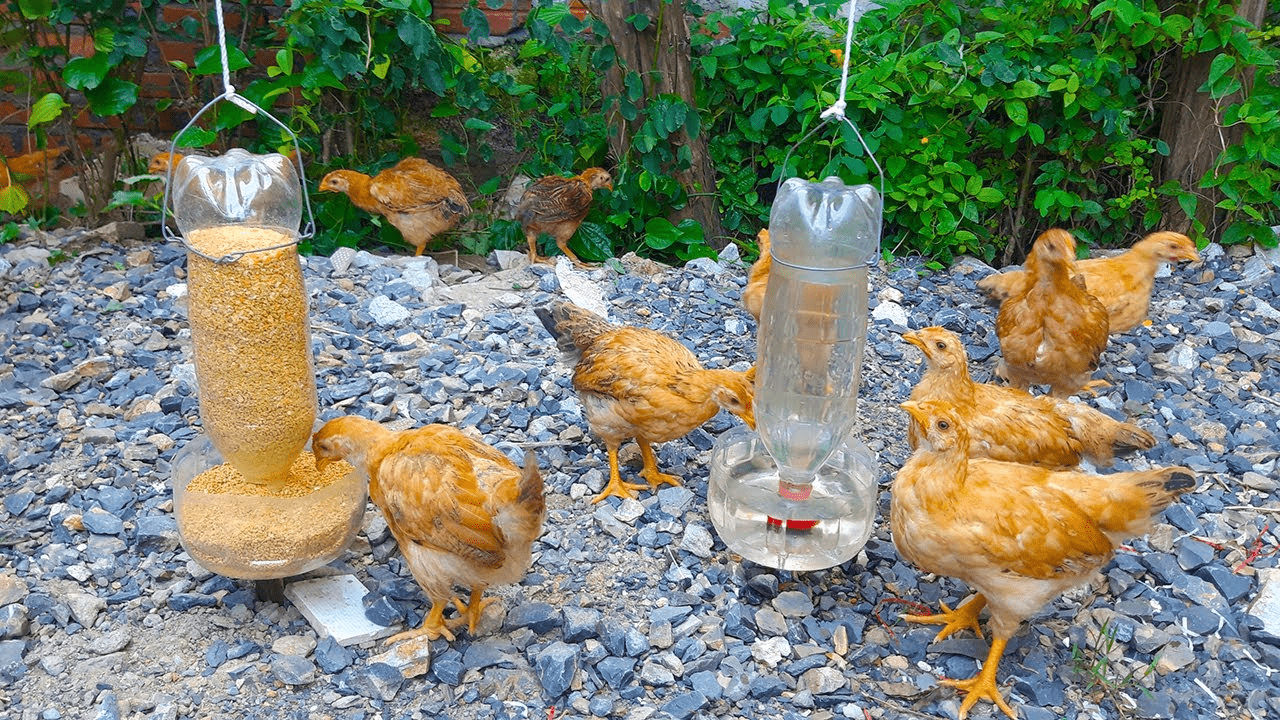
🎒 Reason 5: Ultra-Portable Design Fits Any Lifestyle
Commercial incubators weigh you down like anchors. At under 5 pounds, Susan’s bottle version slipped easily from kitchen counter to sunny windowsill. A 2020 survey of hobby farmers found 70% prioritizing mobility for monitoring in varied spaces. Whether you’re in a cozy apartment or sprawling backyard, this lightweight wonder adapts seamlessly, ensuring your eggs stay close without cramping your style.
🥚 Reason 6: Ideal for Intimate Batches of 4–6 Eggs
Not everyone needs dozens of chicks. This compact incubator shines for small-scale trials—perfect for testing fertility or gifting hatched birds. Tom, a 62-year-old grandfather, successfully raised four robust chicks on his first try. Data from 2023 shows small-batch DIY setups achieving 85% viability. Start modest, build confidence, and scale up as your flock dreams grow.
⏰ Reason 7: Minimal Upkeep for Busy Schedules
Life’s hectic— who has time for constant tinkering? Susan glanced at hers twice daily, adjusting in mere minutes. The streamlined design demands little: top off water, rotate eggs, note readings. A 2021 practical guide confirms low-maintenance models like this free up hours for what matters—anticipating those first peeps.
🧠 Reason 8: Ignite Curiosity and STEM Learning in Every Generation
Turn science into spectacle. Tom’s grandkids clustered around the viewing window, wide-eyed as veins pulsed in candled eggs. Over 80% of families using DIY incubators report heightened interest in biology and engineering, per 2022 educational insights. It’s more than hatching; it’s nurturing wonder, problem-solving, and a lifelong love for nature.
✨ Reason 9: A Profoundly Rewarding Gateway to Self-Reliance
Blend all these benefits, and you get more than an incubator—you get empowerment. Susan and Tom didn’t just save money; they gained skills, bonded with family, and harvested fresh eggs from home-raised hens. This project redefines accessibility, proving anyone can participate in the miracle of life. It’s affordable innovation at its finest, turning “impossible” into “inevitable.”
🛠️ Your Step-by-Step Blueprint: Building the Ultimate Water Bottle Incubator
Ready to roll up your sleeves? Gather these essentials for a setup that rivals store-bought models:
- One clean 5-gallon plastic water bottle (food-grade for safety)
- 25W incandescent bulb with socket and cord
- Small computer fan (USB-powered for ease)
- Digital thermometer/hygrometer combo
- Shallow water tray or sponge
- Duct tape, aluminum foil, and foam insulation sheets
- Utility knife and marker
Step 1: Prep the Bottle Base
Rinse thoroughly and remove labels. Cut off the bottom third horizontally to create a stable stand— this becomes your access door.
Step 2: Craft a Viewing Window
On the upper section, slice a 6×8-inch rectangle midway up. Cover with clear plastic (from packaging) and tape securely for peeking without heat loss.
Step 3: Install Heat and Circulation
Drill a small hole near the top for the bulb socket; mount it inside, bulb pointing downward. Position the fan opposite to blow gently across the bulb, promoting even airflow. Wrap the exterior in foam and foil for insulation, leaving vents for fresh air.
Step 4: Set Up Humidity Control
Place the water tray at the base. Add a sponge soaked in warm water to fine-tune moisture levels.
Step 5: Wire and Test
Connect the bulb and fan to a safe power source. Plug in, monitor for 30 minutes—aim for 99–101°F and 50–60% humidity. Adjust bulb distance or fan speed as needed.
Step 6: Load and Launch
Mark eggs with X and O for rotation tracking. Place 4–6 on a soft mesh or egg carton base. Incubate for 21 days (chicken eggs), turning 3–5 times daily except the last three days.
🔒 Essential Safety Protocols to Protect Your Project
Ventilation is non-negotiable—drill 4–6 penny-sized holes to prevent CO2 buildup and overheating. Never exceed 6 eggs to avoid crowding. Use only extension cords rated for the wattage. Position away from drafts, pets, and children. Candle eggs on day 7 and 14 to remove non-viable ones. Always source fertile eggs from reputable suppliers and consult a veterinarian for health checks.
📊 Quick-Reference Benefit Breakdown
| Benefit | Key Component | Potential Impact |
|---|---|---|
| Cost Savings | Recycled Bottle | Hatching under $20 |
| Stable Heat | 25W Bulb | 25% higher hatch rates |
| Education | DIY Process | Sparks STEM curiosity |
🕒 Daily Usage Timeline
- Days 1–18: Rotate eggs, maintain temp/humidity, add water as evaporated.
- Days 19–21: Stop turning, increase humidity to 65–70% for pipping.
- Hatch Day: Resist opening—let nature unfold.
🚀 Why Hesitate? Embrace the Hatch Today!
This water bottle incubator isn’t a gimmick—it’s a gateway to independence, education, and endless delight. Susan now tends a thriving coop; Tom shares stories with grandkids over fresh omelets. You’ve got the reasons, the roadmap, and the inspiration. Skip the overpriced alternatives and craft your own miracle. Paint the bottle for fun classroom twists, or challenge friends to a hatch-off. The peeps are calling—answer them. Your flock awaits.
This guide is for educational purposes. Always prioritize animal welfare and seek professional advice for optimal results.